


As Seen On


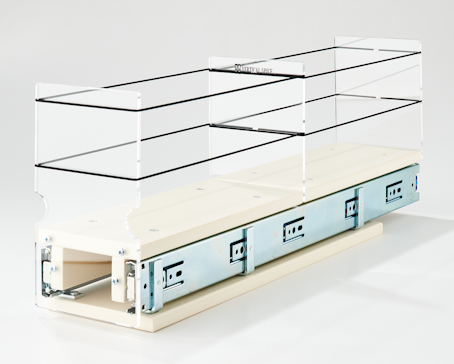
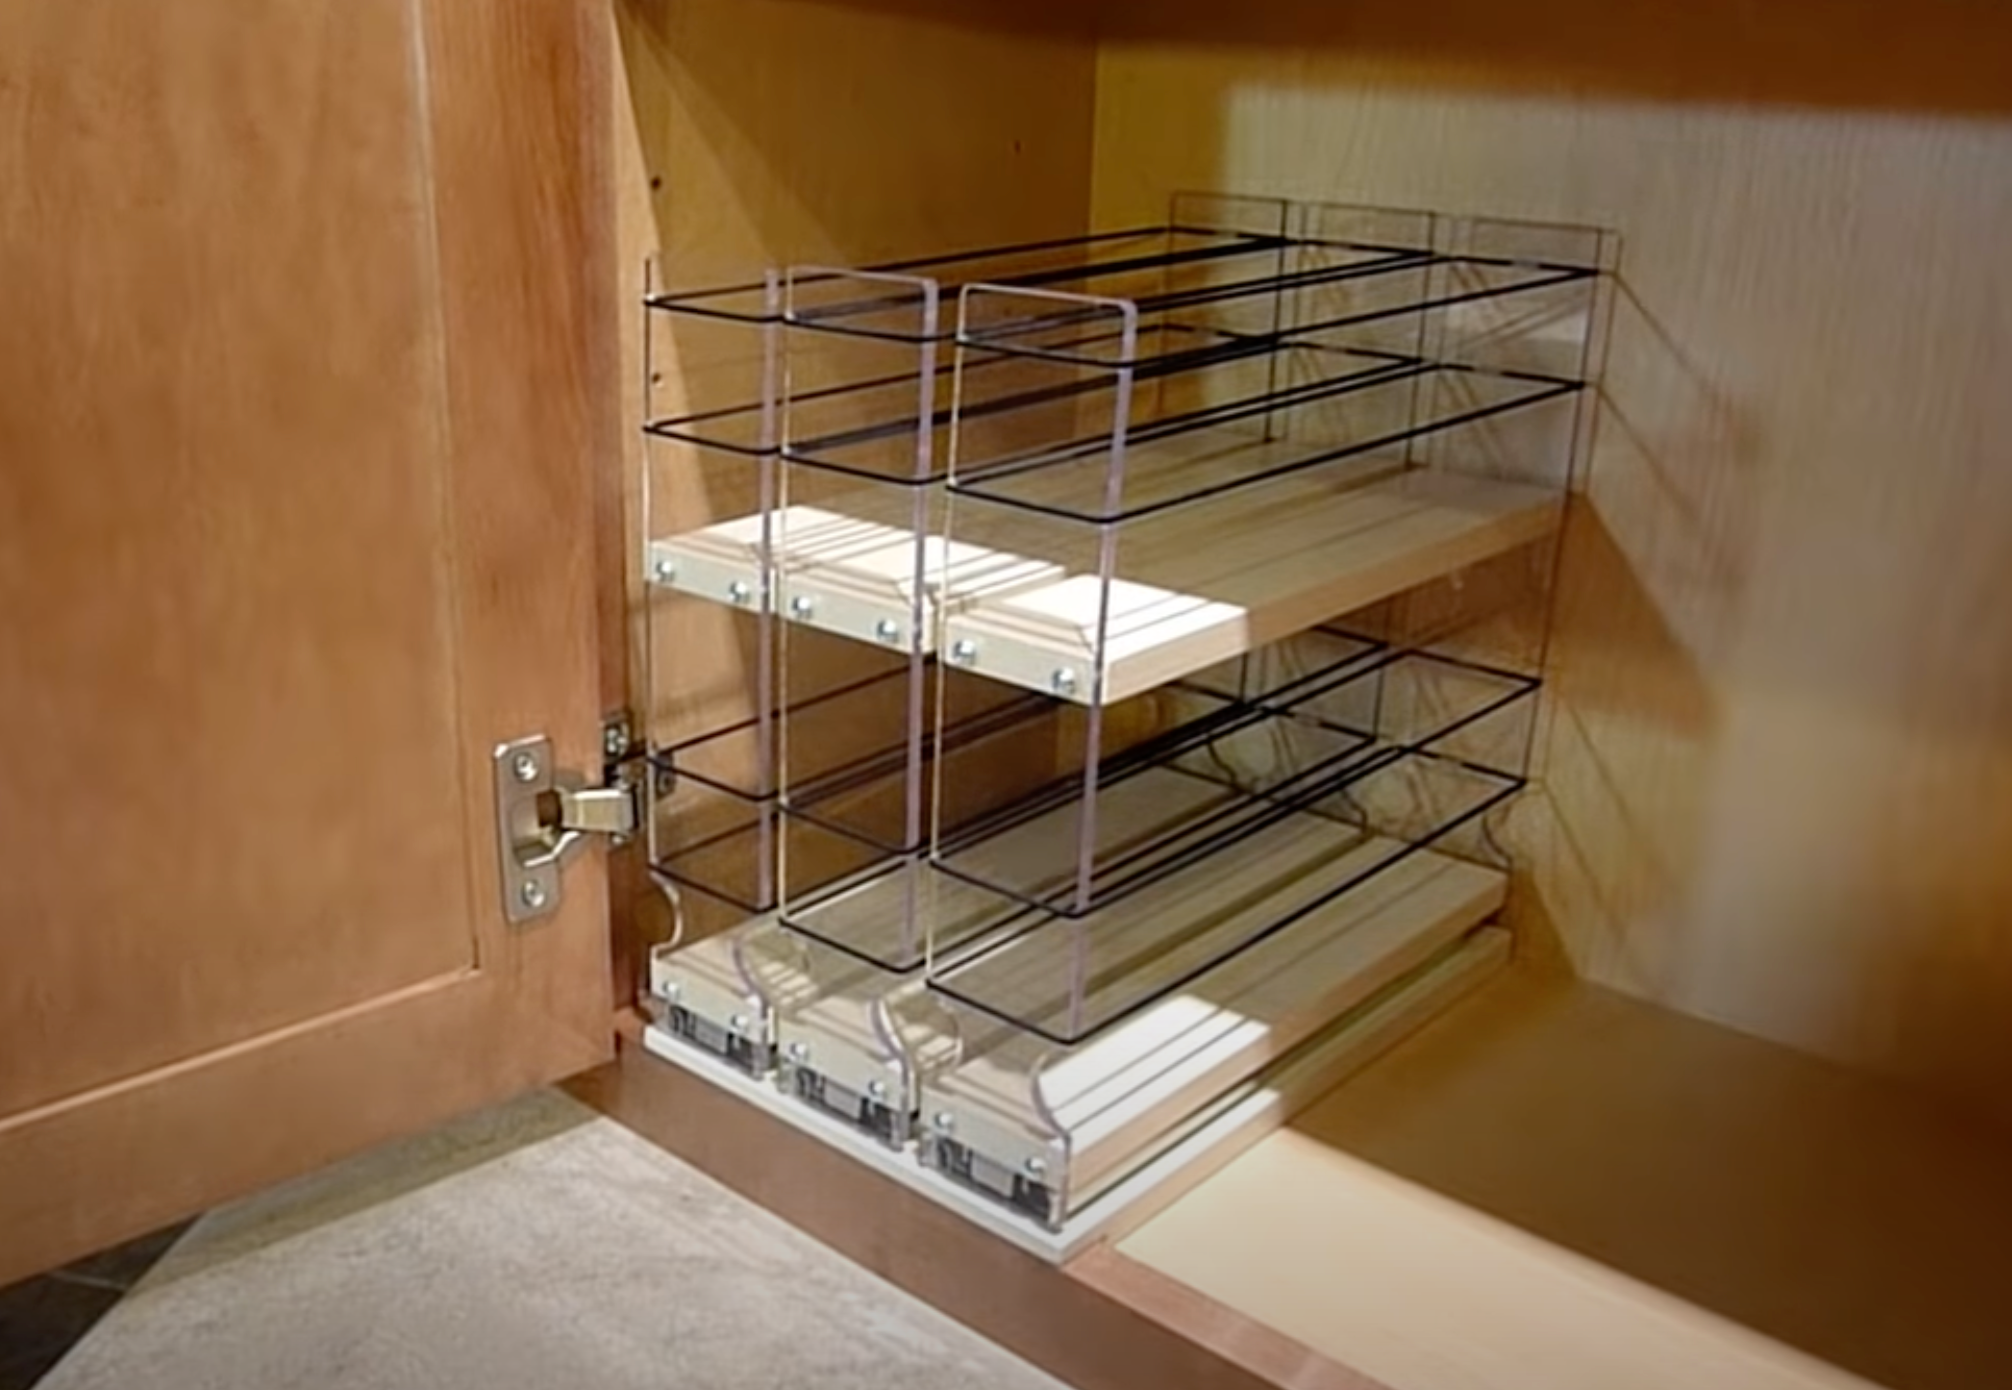
4x1x22 Storage Solution Drawer
FLEX SIDES + PATENTED DESIGN

4.60" Wide x 8.00" Tall x 22.10" Depth.
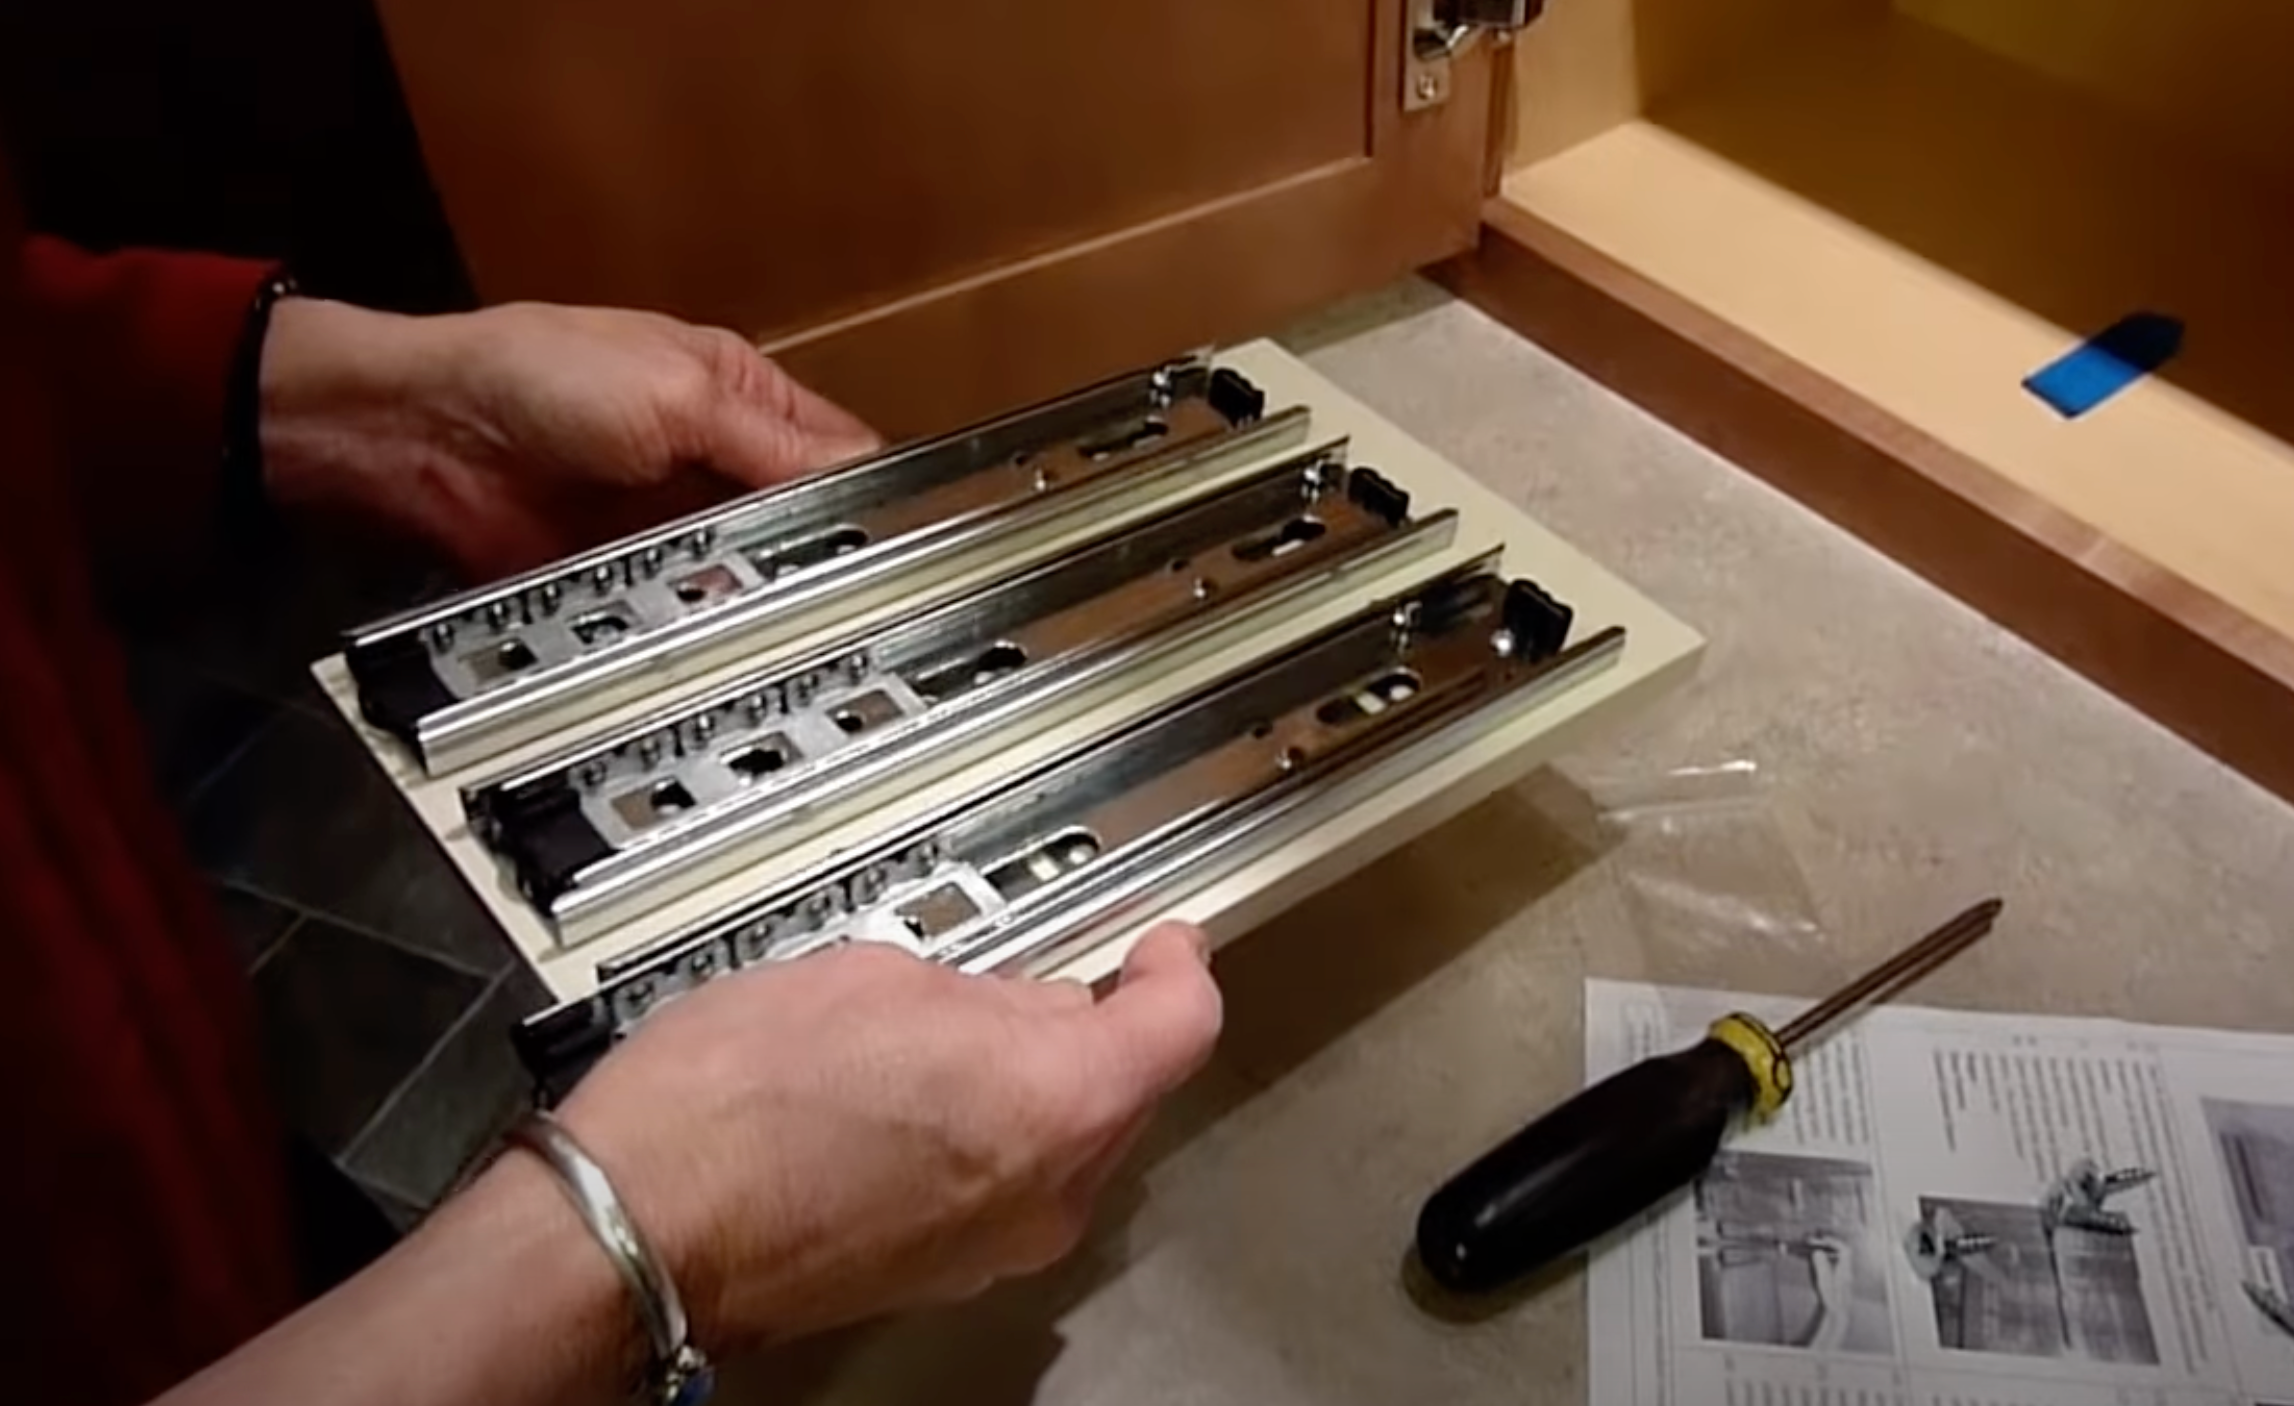
Some Assembly Required - Attach Front, Middle and Back clear plastics.
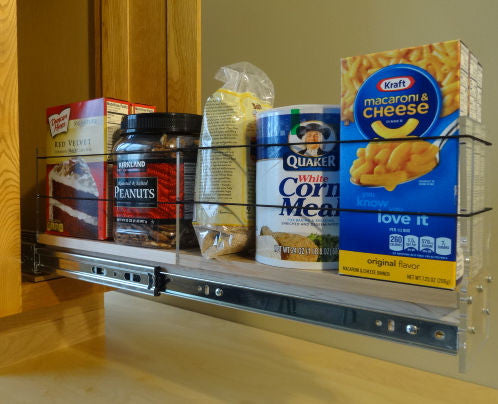
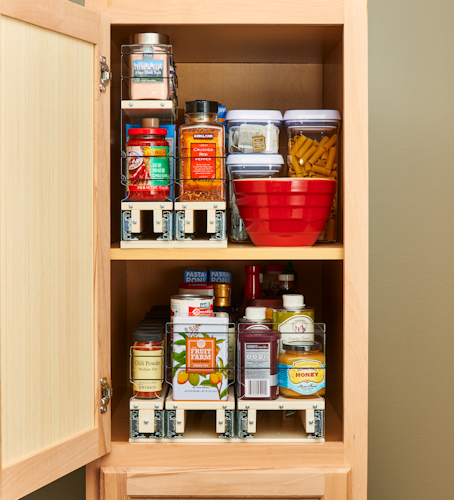
The 4x1x22DC Storage Solution is a versatile answer for deep cabinet access and organization. A 22.1" deep Storage Drawer for a mix of containers up to 4.4"+ wide. Full extension ball-bearing slides make up the drawer to provide easy and complete access to your deep cabinet stored items. The Flex-Sides are made of woven polyester over an elastic core and they allow the easy off and on of spice jars and they conform to the occasional over-sized container. This assembled unit, 4.6" wide x 8.0" tall by 22.1" deep, is made of durable HDPE and acrylic, is easy to install into your cabinet with supplied self-tapping screws and your Phillips screwdriver.
- Part Number: 4x1x22DC
- Features: Ball bearing slides, visibility to containers, easy to access and organize, accommodates popular spice containers, no need to repackage spices, easy to mount in cupboard
- Width: 4.60"
- Depth: 22.10" (space needed from inside of closed door to back of cabinet)
- Height: 8" (overall height depends on bottles/containers to be stored)
- Weight: 7.0 Lbs. (3.2 kgs.)
- Drawer: (1) shelf - 4.40" wide by 21.4" long, 2 sections
- Capacity: 4.38"-4.6" wide containers (elastic side bands allow flexible widths)
-
Materials:
HDPE Base and Drawers
Acrylic – clear ends for visibility
Ball bearing slides – for smooth action and long life
78cm Flex-Side Bands - woven polyester over elastic core – containers retained with easy access - Finish: Cream color
- Mount Type: Cabinet/Cupboard mount
- Tool Required: Phillips Screwdriver (mounting screws provided, no pre-drilling required)
- Includes: Spice Rack (partially-assembled), All Required Parts, Elastic Side Bands, Mounting Screws, Installation Instructions
- Maximum Weight Limit: 100 Lbs. per drawer
- U.S. Patent Number 9,282,821 B2
|
Links to Information: |
| How to Measure |
| Use our Cabinet Designer |
| Installation Instructions |
|
Links to Information: |
| How to Measure |
| Use our Cabinet Designer |
| Installation Instructions |

100% Satisfaction Guaranteed
Enjoy the freedom to explore our spice racks with the assurance of our 100% Satisfaction Guarantee. We value your trust and satisfaction above all.


One Year Warranty
Durable and lasting

Solid Construction
Built to last

Secure Shopping
Safe transactions

Patented Flex-Sides
Adaptable storage solutions

Ingredients You Love, Within Reach
Step into a world where every spice has its place with Vertical Spice. Our innovative storage options are created with your kitchen habits in mind, ensuring a clutter-free environment. Transform your space into an oasis of organization and improve your cooking routine with unmatched ease.

Make Your Kitchen Work Smarter with Vertical Spice
Keep your cooking smooth and simple with Vertical Spice racks, designed to give you easy access to your spices and more room in your kitchen by reclaiming your counter space. These ready-to-use racks require no assembly and are made to last, built right here in the USA. With a focus on making life easier, they promise a neat kitchen and a more efficient cooking experience.

Quick 3-Step Spice Rack Setup 🌶️
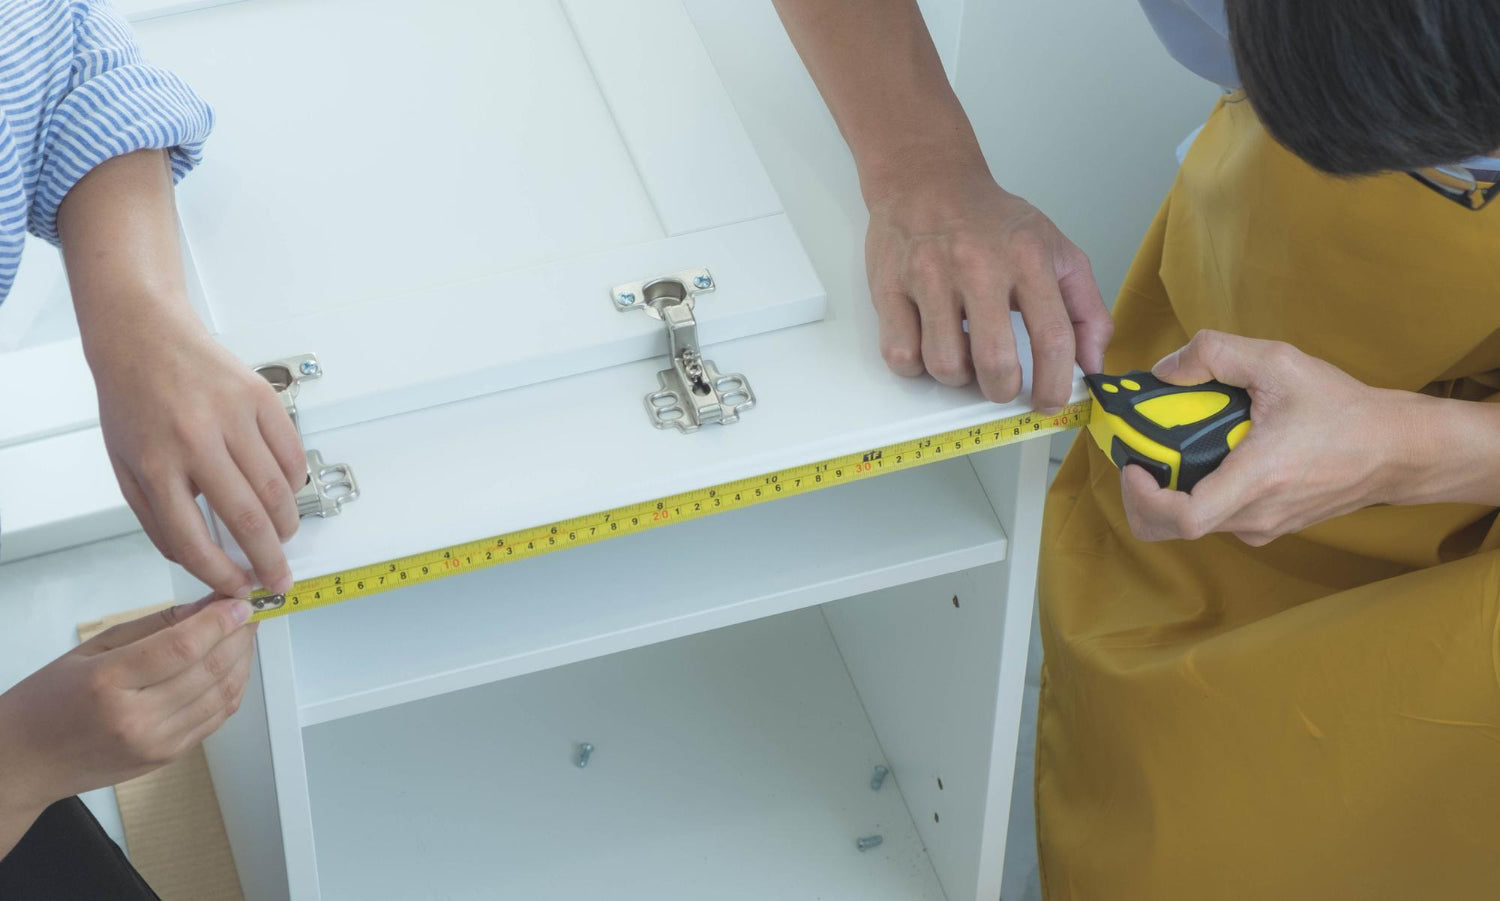
Check Your Space
Measure your cabinet's inside width, height, and depth to ensure the spice rack fits perfectly.
Pick Your Rack
Select from our variety of sizes and materials to meet your unique organizational needs with ease.
Setup with Screwdriver
Just need a Philips screwdriver to install. Position and secure your new spice rack for immediate use.
Our Customers Love Our Spice Racks ⭐️⭐️⭐️⭐️⭐️
Frequently Asked Questions
Popular questions from our customers.
-
No pre-drilling is required for the installation of our spice racks. They can be easily installed with the provided self-tapping screws.
-
Vertical Spice products are constructed with high-quality materials, including HDPE (High-Density Polyethylene) for durability, clear fronts for easy visibility, and steel ball-bearing slides for smooth operation.
-
To clean your spice rack, simply wipe it with a damp cloth. Avoid using harsh chemicals or abrasives to preserve the appearance and functionality of the rack.
-
Vertical Spice racks are designed for easy DIY installation, requiring only a screwdriver. They come with all necessary hardware and instructions to ensure a smooth setup.